Pin Replacement
TOC
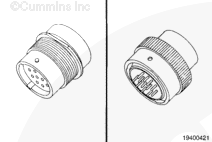
The connector pins can not be repaired or replaced. The connector must be replaced as a unit.
Refer to the Connector Replacement procedure for replacement instructions.
Connector Replacement
TOC
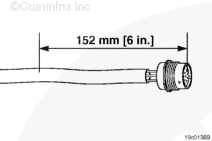
Measure 152 mm [6 in] back from the face of the connector and remove the wiring harness protective cover.
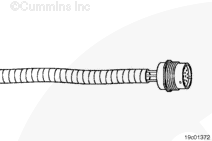
Before installing the new connector, perform a test fit to make sure the connector is keyed correctly.
Refer to the appropriate wiring repair kit in the service tools table in the front of Section 19 for the correct repair connector.
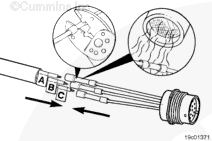
Replace one contact wire at a time. If more than one wire needs replaced, attach a lettered tag to each wire removed.
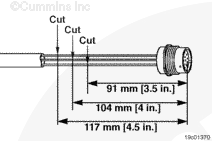
Use wire crimping tool, Part Number 3822930, to cut the wires. Cut the first wire 91 mm [3-½ in] from the face of the connector.
Cut the remaining seven wires in increments of 12 mm [½ in] back from the previous cut.
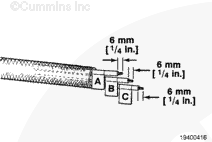
Install the terminal repair wires on the bare wires and use the wire crimping tool to crimp the terminal.
Use heat gun, Part Number 3822860, or an open flame to heat the shrink tubing. The tubing will shrink and make the connection waterproof.
For added protection, wrap the wire with tape to complete the repair.
Last Modified: 03-Apr-2003
Published by Jack
Hello, I'm Jack, a diesel engine fan and a blogger. I write about how to fix and improve diesel engines, from cars to trucks to generators. I also review the newest models and innovations in the diesel market. If you are interested in learning more about diesel engines, check out my blog and leave your feedback.
View all posts by Jack


;)
;)
;)
;)
;)
;)
;)
;)
;)
;)
;)
;)