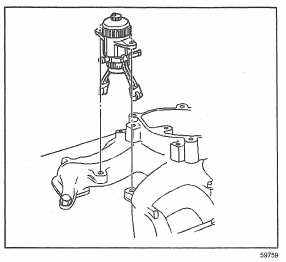
Important: Be sure to use the correct gasket. The gasket for the L 56 mode ls have openings for the EGR Valve, the gaskets for the L 65 mode ls do not have openings.
1. Install the lower intake manifold gasket to the cylinder head .
2. Install the lower intake manifold to the cylinder head .
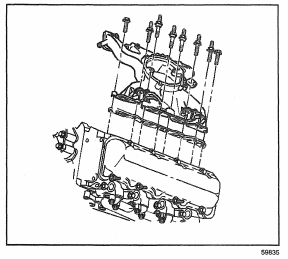
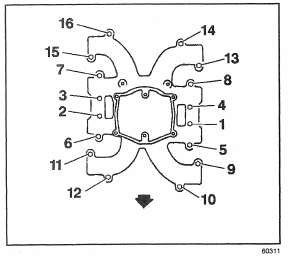
Important: Th ere are four stud/bolts, numbers 9, 11, 13, and 15 exposed to the crankcase, and should be sealed with Teflon sealer. Apply thread locker GM P/N 1 2 3 4 5 4 9 3 to the threads of bolts and studs numbers 1 through 8 and 10, 12 , 14 , and 16.
Notice: Refer to Fastener Notice in Cautions and Notices.
3. Install the lower intake manifold bolts to the cylinder head .
Tighten
Tighten the bolts to 4 2 N-m (31 Ib ft).
4. Install the EGR/Boost solenoids (L 56 only) with the bracket to the intake manifold studs.
5. Install the Glow Plug Relay to the lower intake manifold. Refer to Glow Plug Relay Replacement in Engine Controls-6.5L.
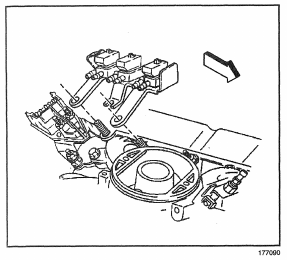
6. Install the grounds straps to the right rear of the cylinder head .
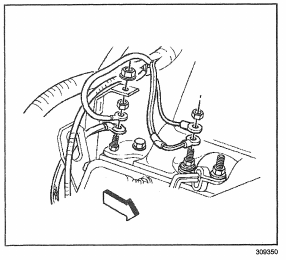
7. Install the engine wiring harness (right side).
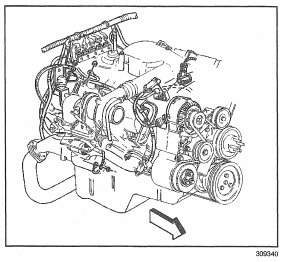
8. Install the heater hose and bracket to the cylinder head (if the vehicle is equipped with rear heat).
Refer to Heater Hoses Replacement – Auxiliary (Suburban-Front) in HVAC.
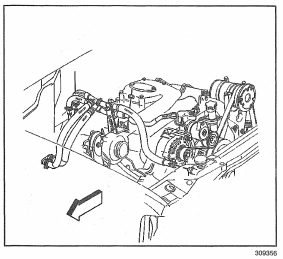
9. Install the fuel filter to the lower intake manifold.
10. Install the upper intake manifold (L 5 6 show n) to the lower intake. Refer to Intake Manifold Replacement (Upper).
11. Connect both the battery negative cables to the batteries. Refer to Battery Cable in Engine Electrical.