Centinel System – Repair Manual – 000-001   Engine Removal

Remove

TOC

Automotive and Industrial


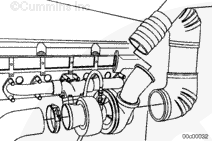
Disconnect the intake and the exhaust air pipes.

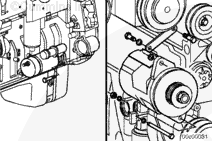
Disconnect all chassis-mounted, engine-driven accessories.

SMALL | MEDIUM | LARGE


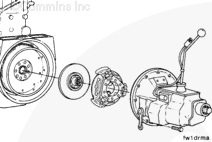
Disconnect the drive units from the flywheel.

SMALL | MEDIUM | LARGE


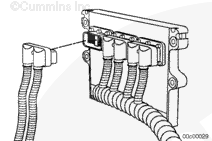
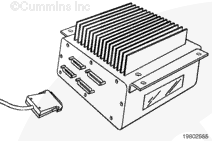
Disconnect the OEM wiring harness from the electronic control module (ECM). Refer to Procedure 019-071 in the Troubleshooting and Repair Manual CM870 Electronic Control Systems Signature and ISX Engines, Bulletin 4021334.

SMALL | MEDIUM | LARGE


NOTE: If the rear engine mounts are attached to the transmission, it will possibly be necessary to remove the engine and the transmission as an assembly.

Most cab-over configuration vehicles will have the Cummins® factory-installed rear engine lifting bracket still installed.

 
SMALL | MEDIUM | LARGE


 WARNING 

If a liquid refrigerant system (air conditioning) is used, wear eye and face protection, and wrap a cloth around the fittings before removing. Liquid refrigerant can cause serious eye and skin injury.
 WARNING 

To protect the environment, liquid refrigerant systems must be properly emptied and filled using equipment that prevents the release of refrigerant gas into the atmosphere. Federal law requires capturing and recycling the refrigerant.

SMALL | MEDIUM | LARGE


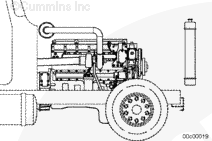
Remove all chassis components necessary to remove the engine.

SMALL | MEDIUM | LARGE


 WARNING 

The engine lifting equipment must be designed to lift the engine and the transmission as an assembly without causing personal injury.
 WARNING 

This component weighs 23 kg [50 lb] or more. To reduce the possibility of personal injury, use a hoist or get assistance to lift this component.

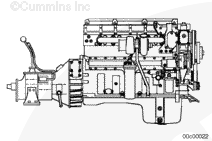
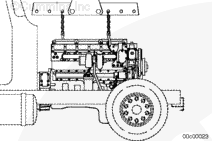
Use a correctly rated hoist, and attach the engine lifting fixture, Part Number 3162871, to the engine-mounted lifting brackets to remove the engine.

If the transmission is not removed, place a support under the transmission to prevent it from falling.

Remove the engine.

SMALL | MEDIUM | LARGE


Cover all engine openings to prevent dirt and debris from entering the engine.

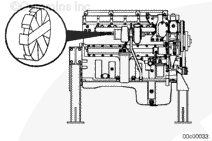
Place the engine on suitable engine support stands.

 
SMALL | MEDIUM | LARGE


Remove and use all remaining accessories and brackets with the replacement engine.

SMALL | MEDIUM | LARGE
   

Power Generation


Disconnect the intake and the exhaust air pipes.

Disconnect all chassis-mounted, engine-driven accessories.

SMALL | MEDIUM | LARGE


Disconnect the drive units from the flywheel.

SMALL | MEDIUM | LARGE


Disconnect the OEM wiring harness from the electronic control module (ECM). Refer to Procedure 019-071 in the Troubleshooting and Repair Manual Electronic Control System Signature, ISX and QSX15 Engines, Bulletin 3666259.

SMALL | MEDIUM | LARGE


Remove all chassis components necessary to remove the engine.

SMALL | MEDIUM | LARGE


 WARNING 

The engine lifting equipment must be designed to lift the engine and the transmission as an assembly without causing personal injury.
 WARNING 

This component weighs 23 kg [50 lb] or more. To reduce the possibility of personal injury, use a hoist or get assistance to lift this component.

Use a correctly rated hoist, and attach the engine lifting fixture, Part Number 3162871, to the engine-mounted lifting brackets to remove the engine.

Remove the engine.

SMALL | MEDIUM | LARGE


Cover all engine openings to prevent dirt and debris from entering the engine.

Place the engine on suitable engine support stands.

 
SMALL | MEDIUM | LARGE


Remove and use all remaining accessories and brackets with the replacement engine.

SMALL | MEDIUM | LARGE
Last Modified:  14-Mar-2005