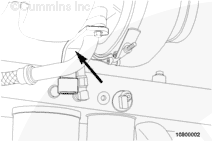
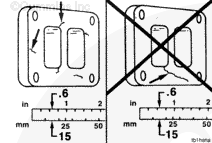
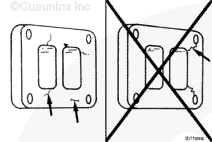
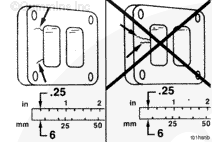
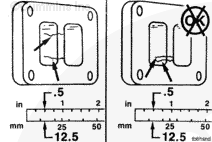
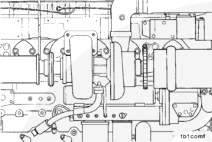
Proper routing of the turbocharger oil supply tube is critical to avoid failure. Avoid any tube-to-metal contact. The inlet supply fitting must be oriented slightly off-vertical to allow proper alignment.
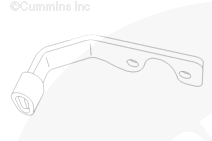
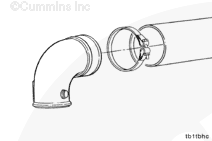
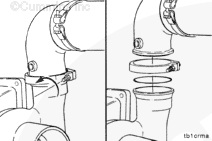
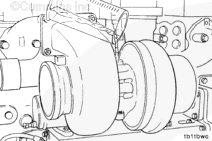
If installing a new turbocharger, install the male union elbow.
Install the turbocharger oil supply tube on the elbow.
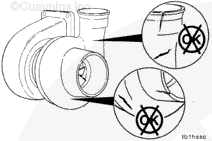
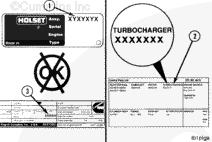
Compare the assembly number (1) on the turbocharger dataplate with the turbocharger specified in the engine Control Parts List (CPL) Manual (2). Both numbers must match.
The CPL number for each engine is listed on the engine dataplate (3).
Hello, I'm Jack, a diesel engine fan and a blogger. I write about how to fix and improve diesel engines, from cars to trucks to generators. I also review the newest models and innovations in the diesel market. If you are interested in learning more about diesel engines, check out my blog and leave your feedback.
View all posts by Jack


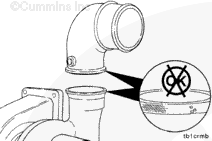


 CAUTION
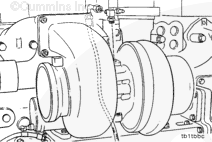

;)
;)
;)
;)
;)
;)
;)
;)
;)
;)
;)
;)
;)
;)
;)
;)
;)
;)
;)
;)
;)
;)
;)
;)
;)
;)
;)
;)
;)
;)
;)
;)
;)
;)
;)
;)