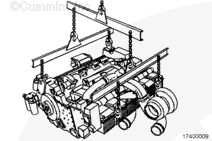
The engine lifting equipment must be designed to lift the engine and transmission as an assembly without causing personal injury.
NOTE: On applications in which the rear engine mounts are attached to the transmission, it will be necessary to install the engine and transmission as an assembly.
Inspect engine lifting brackets for cracks or other damage. Do not attempt to lift engine if cracks or damage is visible.
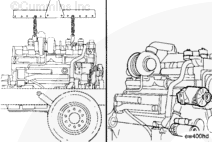
Engine Weight (Wet): 2045 kg [4508 lb]
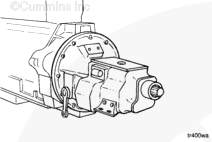
Refer to the equipment manufacturer’s specifications for the weight of the drive unit. The lifting fixture, Part Number 3162871, is designed to lift a maximum of 3175 kg [7000 lb].
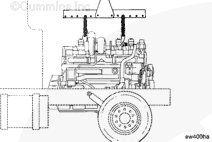
Use a properly rated hoist, engine lifting fixture, Part Number 3162871, and two engine lifting hooks, Part Number 3163091, to install the engine. The lifting hooks fit around lifting lugs that are cast into the rocker lever housings.
Engine weighs 2045 kg [4508 lb]. Use a properly rated hoist and engine lifting fixture, Part Number 3822512, to lift the engine. Rigging and lifting must be done by trained, experienced personnel.
Inspect engine lifting brackets for damage or cracks. Do not attempt to lift engine if cracks or damage is visible.
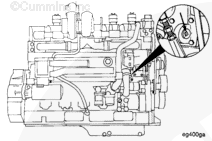
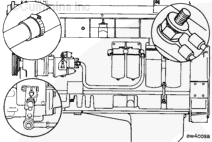
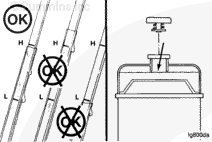
Install engine lifting fixture, Part Number 3822512, to engine lifting brackets as shown.
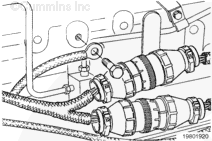
Connect the ECM OEM wiring harness connector. Use the appropriate Electronic Control System Troubleshooting and Repair Manual. Refer to Procedure 019-043 in Section 19.
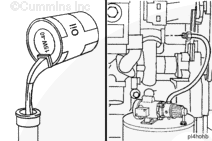
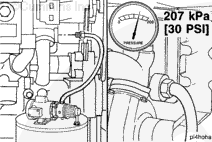
The lubricating oil system must be primed before operating the engine after rebuild to avoid internal component damage. Do not prime the system from the bypass filter as the filter will be damaged.
Remove the large plug [1-12 inch UNF] from the oil cooler housing.
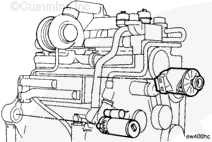
Use a pump capable of supplying 205 kPa [30 psi] continuous pressure. Connect the pump to the front of the engine oil cooler as shown.
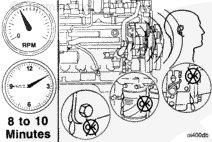
Use a supply of clean oil. Turn the pump to the ON position. Check the engine oil pressure gauge. When the gauge indicates oil pressure, begin monitoring the oil level in the oil pan.
Do not remove the pressure cap from a hot engine. Wait until the coolant temperature is below 50°C [120°F] before removing the pressure cap. Heated coolant spray or steam can cause personal injury.
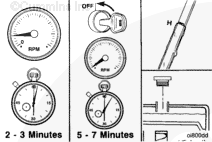
Operate the engine at low idle for 2 to 3 minutes.
Stop the engine and wait 5 to 7 minutes for the oil to drain to the oil pan and check the oil and coolant levels again.
Hello, I'm Jack, a diesel engine fan and a blogger. I write about how to fix and improve diesel engines, from cars to trucks to generators. I also review the newest models and innovations in the diesel market. If you are interested in learning more about diesel engines, check out my blog and leave your feedback.
View all posts by Jack

 WARNING

 CAUTION


;)
;)
;)
;)
;)
;)
;)
;)
;)
;)
;)
;)
;)
;)
;)
;)
;)
;)
;)
;)
;)
;)
;)
;)
;)
;)
;)
;)