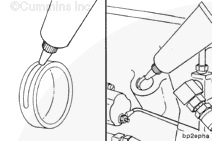
Excessive sealant can run back into the engine and cause damage to other components. Allow the sealant to dry for a minimum of two hours before operating the engine.
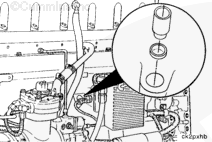
Apply a 2 mm [1/16 inch] bead of cup plug lock ‘N seal, Part Number 3375068 or equivalent, to the outside diameter of the cup plug and the inside diameter of the cup plug installation bore.
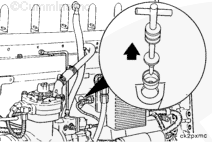
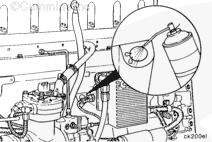
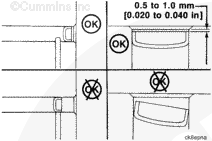
The cup plug must be installed with the edge of the plug 0.5 to 1.0 mm [0.020 to 0.040 inch] deeper than the entrance chamber of the bore.
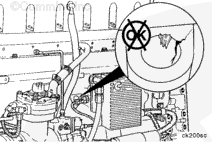
Do not install the plug too deep. The cross drillings in the cylinder block can be blocked shut. If the plug is not installed straight and flat, it must be replaced with a new cup plug.
Hello, I'm Jack, a diesel engine fan and a blogger. I write about how to fix and improve diesel engines, from cars to trucks to generators. I also review the newest models and innovations in the diesel market. If you are interested in learning more about diesel engines, check out my blog and leave your feedback.
View all posts by Jack
 CAUTION


;)
;)
;)
;)
;)
;)
;)
;)
;)
;)
;)
;)
;)
;)