 WARNING
Coolant is toxic. Keep away from children and pets. Dispose of in accordance with local environmental regulations.
|
WARNING
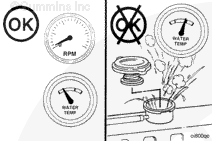
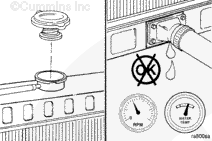
Do not stand near surge tank or radiator while operating engine with pressure cap off. If the vehicle is equipped with a fill door on side of surge tank, keep it closed due to coolant expansion.
|
 CAUTION
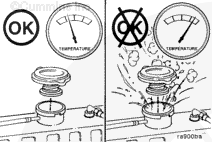
Do not operate engine with the pressure cap off at temperatures above 200 degrees F. This can result in potential engine damage by cavitation of the water pump and localized boiling.
|
CAUTION
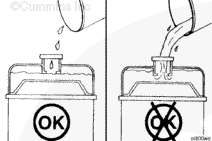
Before topping off coolant, allow the system temperature to cool to ambient. This will ensure that an adequate amount of coolant is available to the water pump during all periods of operation.
|
CAUTION
Do not relieve the system pressure while hot in order to “top off” immediately before returning the vehicle to service. The system will not be able to generate the pressure through the expansion of the coolant necessary for operation. This can result in potential engine damage by cavitation of the water pump and localized boiling.
|
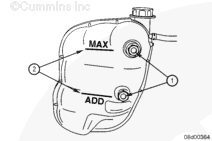
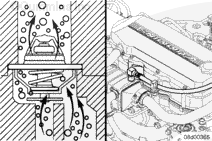
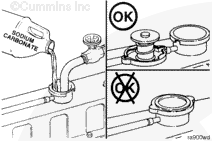
Fill the cooling system with a mixture of sodium carbonate and water (or a commercially available equivalent) to the capacity or level stated in the OEM service manual.
NOTE: Adequate venting is provided for a fill rate of 19 liters [5 gal] per minute.
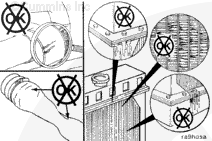
Unless indicated otherwise by the OEM instructions, it is critical that all shutoff valves be returned to their open positions once the system has been refilled and the deaeration process is about to begin. This will help to make sure as much air as possible will be purged from the cooling system. See the OEM service manual for valve locations.
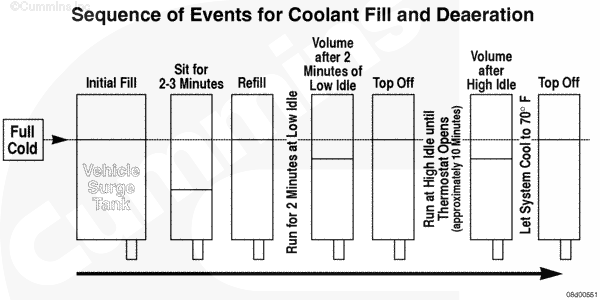
Wait 2 to 3 minutes without starting the engine, to allow the system to naturally purge entrained air and the coolant level to stabilize.
Add plain water to bring the level back to FULL.
Turn all cab heater switches to HIGH in order to allow maximum coolant flow through heater core(s). The blower does not have to be on.
With the radiator or pressure cap off:
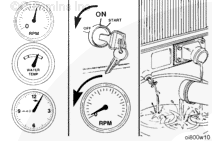
- Operate the engine at LOW Idle for 2 minutes.
- Turn off the engine and add plain water to bring the level back to FULL.
With the radiator or pressure cap off:
NOTE: After starting a cold engine, increase the engine speed (rpm) slowly to provide adequate lubrication to the bearings and to allow the oil pressure to stabilize.
Allow the engine to idle 2 minutes before shutting it down. This allows adequate cool down of pistons, cylinders, bearings, and turbocharger components.
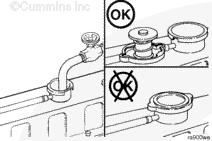
Turn off the engine and check the coolant level according to the OEM service manual recommendations and add, if necessary, to bring it back to the FULL level.
Install the radiator or pressure cap.
Operate the engine for 1 to 1½ hours with the coolant temperature above 80°C [176°F].
Shut the engine off. Allow the coolant temperature to drop to 50° C [122° F] before draining the cooling system.
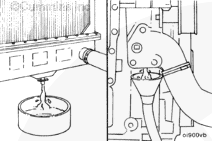
Drain the cooling system.
|


;)
;)
;)
;)
;)
;)
;)
;)
;)
;)
;)
;)
;)
;)
;)
;)
;)
;)
;)
;)
;)
;)
;)
;)
;)
;)
;)
;)