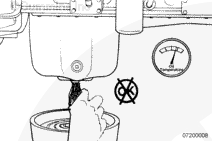
To reduce the possibility of personal injury, avoid direct contact of hot oil with your skin.
WARNING
Some state and federal agencies have determined that used engine oil can be carcinogenic and cause reproductive toxicity. Avoid inhalation of vapors, ingestion, and prolonged contact with used engine oil. If not reused, dispose of in accordance with local environmental regulations.
To reduce the possibility of personal injury, keep hands, long hair, jewelry, and loose fitting or torn clothing away from fans and other moving parts.
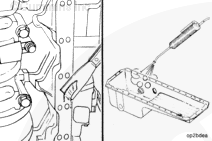
NOTE: This machine step applies only to cast aluminum oil pan modification.
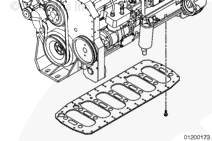
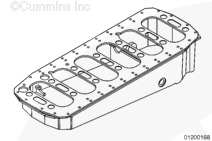
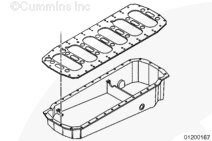
Non-EGR Aluminum Oil Pan Modification
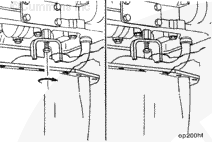
These modifications to the cast aluminum oil pan must be made prior to initial stiffener plate installation.
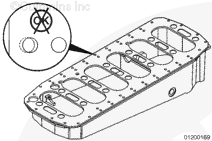
Too much sealant applied to the stiffener plate can drip into the lubrication pan assembly. This excess sealant can become lodged in the oil suction tube screen and cause engine damage.
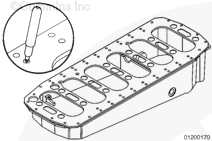
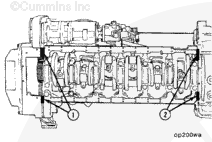
Install four evenly spaced (1 and 2) 10 cm [4 in] long guide pins in the block oil pan capscrew holes.
These guide pins aid in the stiffener plate and oil pan assembly.
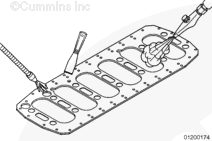
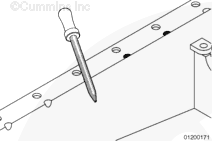
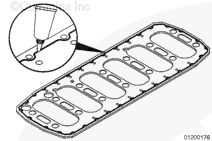
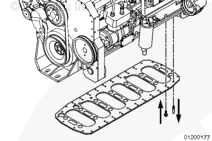
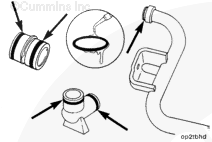
Make sure the oil transfer tube designed for the block stiffener plate is used. Failure to install the correct oil transfer tube will result in engine damage.
Replace the discarded oil transfer tubes with the correct oil transfer tubes.
Install the oil transfer tubes. Refer to Procedure 007-040.
Hello, I'm Jack, a diesel engine fan and a blogger. I write about how to fix and improve diesel engines, from cars to trucks to generators. I also review the newest models and innovations in the diesel market. If you are interested in learning more about diesel engines, check out my blog and leave your feedback.
View all posts by Jack
 WARNING


 CAUTION

;)
;)
;)
;)
;)
;)
;)
;)
;)
;)
;)
;)
;)
;)
;)
;)
;)
;)
;)
;)
;)
;)
;)
;)
;)
;)
;)
;)
;)
;)
;)
;)