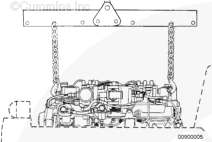
The engine lifting equipment must be designed to lift the engine and transmission safely as an assembly without causing personal injury. The dry weight of the standard 6B5.9G and 6B5.9LPG without accessories is 458 kg [1010 lb]. Refer to the equipment manufacturer’s specifications for the transmission weight.
NOTE: On applications where the rear engine mounts are attached to the transmission, it will, perhaps, be necessary to install the engine and transmission as an assembly.
The engine lifting equipment must be designed to lift the engine and transmission safely as an assembly without causing personal injury. The dry weight of the standard 6B5.9G and 6B5.9LPG without accessories is 458 kg [1010 lb]. Refer to the equipment manufacturer’s specifications for the transmission weight.
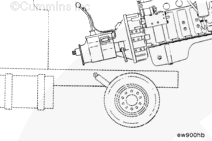
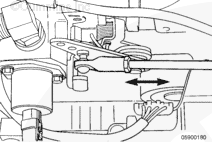
Use a properly rated hoist and engine lifting bracket attached to the engine-mounted lifting brackets to install the engine.
Align the engine in the chassis and tighten the engine mounting capscrews. Refer to the equipment manufacturer’s torque specifications.
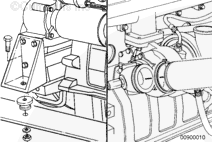
Connect all engine- and chassis-mounted accessories that were removed.
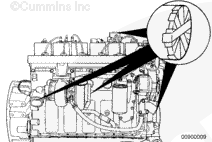
NOTE: Be sure all lines, hoses, and tubes are properly routed and fastened to prevent damage. Be sure the air intake and exhaust pipe connections are tight and free of leaks.
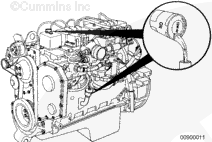
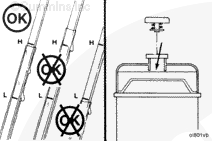
Installation of the radiator cap at this point is critical to proper purging of air trapped in the cooling system. Improper purging of air from the cooling system will result in engine damage from overheating.
Install the radiator cap.
Perform a final inspection to make sure that all hoses, wires, linkages, and components have been properly installed and tightened.
If gas leaks are present, do not store the vehicle inside or in any area that is covered. Severe personal injury can result from asphyxiation or explosion.
WARNING
Fuel is flammable. Keep all cigarettes, flames, pilot lights, arcing equipment, and switches out of the work area and areas sharing ventilation to reduce the possibility of severe personal injury or death when working on the fuel system.
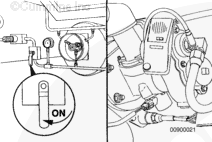
Turn on the fuel supply at the tanks and check for leaks. Turn the ignition switch to the ON position (do not engage the starting motor)
and check for leaks.
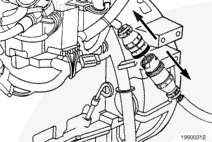
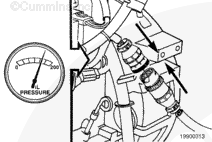
Make sure the OEM wiring harness to the engine is disconnected. This is necessary to prevent the engine from starting during the lubricating oil rifle pressure-charging operation.
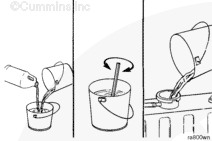
Do not remove the pressure cap from a hot engine. Wait until the coolant temperature is below 50°C [120°F] before removing the pressure cap. Heated coolant spray or steam can cause personal injury.
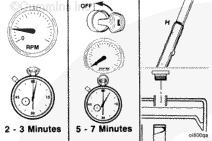
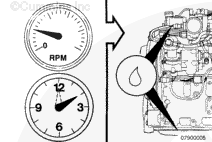
Operate the engine at low idle for 2 to 3 minutes.
Shut off the engine and wait 5 to 7 minutes for the lubricating oil to drain to the lubricating oil pan and check the lubricating oil and coolant levels again.
Hello, I'm Jack, a diesel engine fan and a blogger. I write about how to fix and improve diesel engines, from cars to trucks to generators. I also review the newest models and innovations in the diesel market. If you are interested in learning more about diesel engines, check out my blog and leave your feedback.
View all posts by Jack


 WARNING


 CAUTION
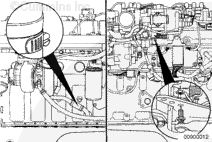

;)
;)
;)
;)
;)
;)
;)
;)
;)
;)
;)
;)
;)
;)
;)
;)
;)
;)
;)
;)
;)
;)
;)
;)
;)
;)
;)
;)
;)
;)
;)
;)