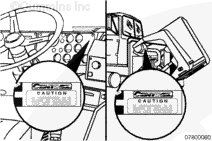
Locate the four Centinel™ decals. Install one of the decals on the dash of the vehicle where it will be clearly visible to the operator.
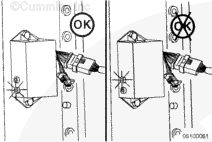
Install a second decal in a location on the outside of the vehicle, or in the engine compartment, where it will be visible to the operator and maintenance personnel (e.g., on charge air piping in the vicinity of the dipstick). The other two decals can be installed according to customer preferences (e.g., near the fuel tank fill, cab door, or other areas frequented by the operator or maintenance personnel, or they can be saved as spares for future use as replacements for worn decals).
Some state and federal agencies have determined that used engine oil can be carcinogenic and cause reproductive toxicity. Avoid inhalation of vapors, ingestion, and prolonged contact with used engine oil. If not reused, dispose of in accordance with local environmental regulations.
CAUTION
Overfilling the engine with oil could cause damage to the engine.
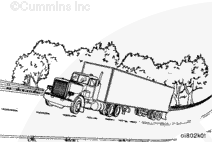
Shut off the engine. Wait 5 to 7 minutes for the oil to drain back to the pan.
Check the oil level. Add oil as necessary to bring the oil up to the H (high) mark on the dipstick.
Hello, I'm Jack, a diesel engine fan and a blogger. I write about how to fix and improve diesel engines, from cars to trucks to generators. I also review the newest models and innovations in the diesel market. If you are interested in learning more about diesel engines, check out my blog and leave your feedback.
View all posts by Jack



 WARNING
  CAUTION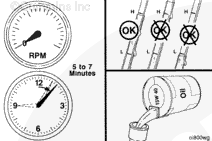
;)
;)
;)
;)
;)
;)
;)
;)
