Batteries can emit explosive gases. To reduce the possibility of personal injury, always ventilate the compartment before servicing the batteries. To reduce the possibility of arcing, remove the negative (-) battery cable first and attach the negative (-) battery cable last.
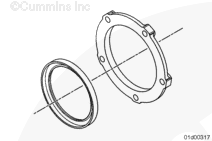
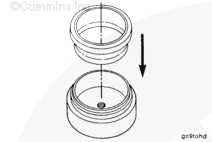
Remove the oil seal from the carrier. Drive the oil seal from the back side of the carrier toward the front side of the carrier, while supporting the carrier.
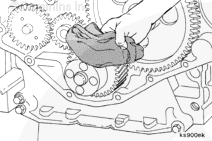
Apply a bead of sealant, approximately 4 mm [0.16 in] thick and 4 mm [0.16 in] wide, around the inside of the seal carrier, between the mounting holes and the seal.
Apply a bead of sealant, approximately 4 mm [0.16 in] thick and 4 mm [0.16 in] wide, around all stud seams on the front cover.
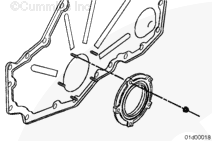
Install the seal carrier on the front gear cover.
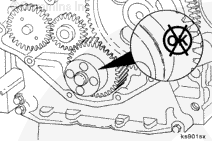
Remove the plastic installation tool.
Starting with the upper left stud (as shown in the graphic), tighten the carrier mounting nuts in a star pattern.
Batteries can emit explosive gases. To reduce the possibility of personal injury, always ventilate the compartment before servicing the batteries. To reduce the possibility of arcing, remove the negative (-) battery cable first and attach the negative (-) battery cable last.
Hello, I'm Jack, a diesel engine fan and a blogger. I write about how to fix and improve diesel engines, from cars to trucks to generators. I also review the newest models and innovations in the diesel market. If you are interested in learning more about diesel engines, check out my blog and leave your feedback.
View all posts by Jack
 WARNING


 CAUTION
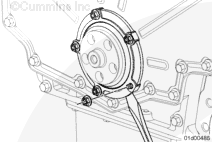


;)
;)
;)
;)
;)
;)
;)
;)
;)
;)
;)
;)
;)
;)