Batteries can emit explosive gases. To reduce the possibility of personal injury, always ventilate the compartment before servicing the batteries. To reduce the possibility of arcing, remove the negative (-) cable first and attach the negative (-) cable last.
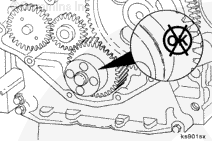
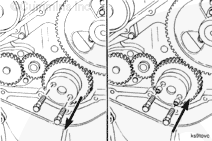
Do not nick or gouge the crankshaft with the chisel. If the crankshaft is severely damaged, it must be replaced.
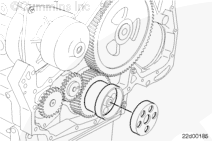
Use a hammer and a chisel that is only as wide as the wear sleeve. Make one or two chisel marks across the wear sleeve. This will expand the wear sleeve allowing the sleeve to be removed.
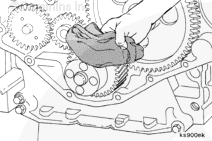
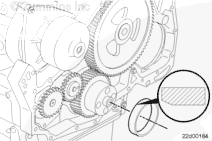
Inspect the seal contact area of the crankshaft for a wear groove. If the seal has worn a groove deep enough to be felt with a sharp object or fingernail, it will be necessary to install a wear sleeve to prevent an oil leak.
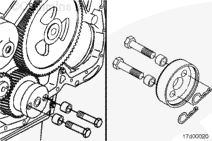
The oil seal used with the wear sleeve has a larger inside diameter than the standard seal. The two seals are not interchangeable. See the appropriate parts catalog for the correct part number.
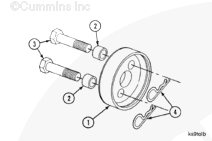
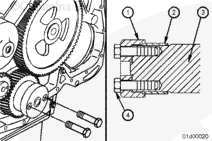
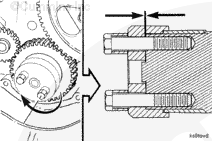
Use the wear sleeve installation kit, Part Number 3165112, to install the wear sleeve to the correct position on the crankshaft. The kit consists of the following:
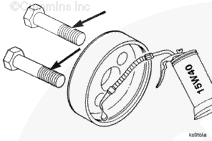
Install the capscrews (without spacers) through the driver and into the crankshaft capscrew holes. Align the wear sleeve and driver perpendicular with the crankshaft. Tighten the capscrews ”finger tight”.
Batteries can emit explosive gases. To reduce the possibility of personal injury, always ventilate the compartment before servicing the batteries. To reduce the possibility of arcing, remove the negative (-) cable first and attach the negative (-) cable last.
Hello, I'm Jack, a diesel engine fan and a blogger. I write about how to fix and improve diesel engines, from cars to trucks to generators. I also review the newest models and innovations in the diesel market. If you are interested in learning more about diesel engines, check out my blog and leave your feedback.
View all posts by Jack
 WARNING


 CAUTION


;)
;)
;)
;)
;)
;)
;)
;)
;)
;)
;)
;)
;)
;)
;)
;)
;)
;)
;)
;)
;)
;)
;)
;)
;)
;)