 WARNING
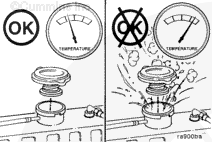
Do not stand near surge tank or radiator while operating engine with pressure cap off. If the vehicle is equipped with a fill door on side of surge tank, keep it closed due to coolant expansion.
|
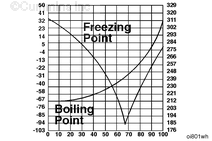
Low silicate antifreeze must be mixed with quality water at a 50/50 ratio (40 to 60 percent working range). A 50/50 mixture of antifreeze and water gives a -37°C [-34°F] freeze point and a boiling point of 109°C [228°F].
The actual lowest freeze point of ethylene glycol antifreezes is at 68 percent, The use of higher concentrations of antifreeze will raise the freeze point of the solution and increase the possibility of a silicate gel problem.
Remove the pressure cap.
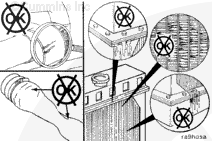
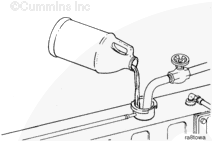
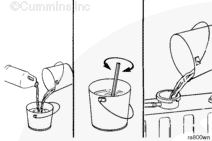
Fill the cooling system to the capacity or level stated in the OEM service manual using a mixture of 50 percent water and 50 percent ethylene glycol or propylene glycol antifreeze.
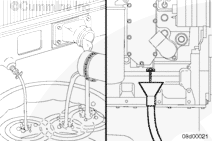
Open all coolant flow valves to equipment heating systems. See the OEM service manual for valve locations.
Wait 2 to 3 minutes, without starting the engine, to allow the coolant level to stabilize.
Add a 50/50 mixture to bring the coolant level back to FULL.
Turn all cab heater switches to HIGH in order to allow maximum coolant flow through heater core(s). The blower does not have to be on.
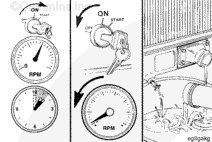
With the pressure cap off:
- Operate the engine at LOW idle for 2 minutes.
- Turn the engine OFF and add coolant to bring the level back to FULL, using a 50/50 mixture.
With the pressure cap off:
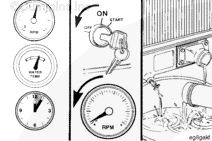
- Operate the engine at LOW idle for 1 minute to allow adequate oil pressure to build throughout the engine.
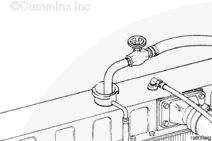
- Run the engine at HIGH idle until the thermostat opens.
Allow the engine to idle 2 minutes before shutting it down. This allows adequate cool down of pistons, cylinders, bearings, and turbocharger components.
Turn the engine OFF and check the coolant level according to the OEM service manual recommendations and add, if necessary, to bring it back to the FULL level.
Install the pressure cap.
Refer to Procedure 018-018 in Section V.
|


 CAUTION
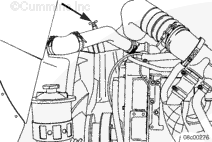


;)
;)
;)
;)
;)
;)
;)
;)
;)
;)
;)
;)
;)
;)
;)
;)
;)
;)
;)
;)
;)
;)