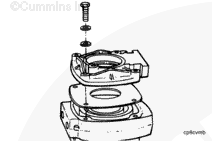
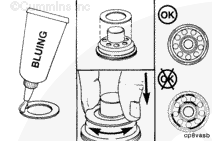
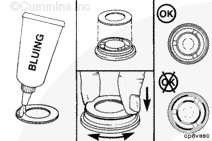
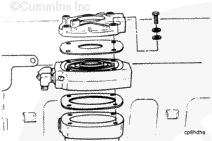
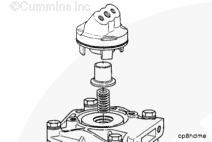
Hold the head bottom side up, and use thumb pressure to remove the exhaust valve seat assembly.
If the exhaust valve seat assembly can not be removed by thumb pressure, use a press and air compressor seat removal tool, Part Number 3377416, or equivalent, to remove the exhaust valve seat.
Remove the o-ring seal from the exhaust valve seat or head. Remove the exhaust valve.
Remove the compression spring and wear plate from the head.
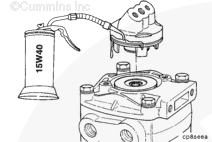
When using solvents, acids, or alkaline materials for cleaning, follow the manufacturer’s recommendations for use. Wear goggles and protective clothing.
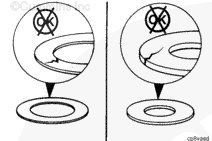
Soak the parts in a kerosene emulsion-based cleaner designed to remove carbon. The cleaner must have a pH of 9.5 or less to avoid turning aluminum parts black. The cleaner manufacturer or supplier must be contacted about solution concentration, temperature and soak time.
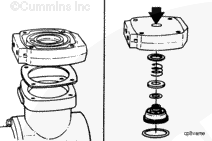
NOTE: Cummins Inc. recommends that new springs be installed.
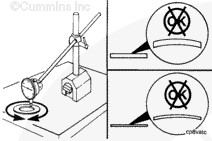
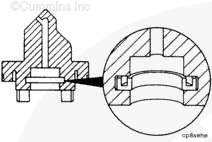
Use valve spring tester, Part Number 3375182, or equivalent, to check the intake, exhaust and unloader valve springs. Replace any springs that do not meet specifications.
Reference the Compressor Spring Force Specifications chart in Section V.
Hello, I'm Jack, a diesel engine fan and a blogger. I write about how to fix and improve diesel engines, from cars to trucks to generators. I also review the newest models and innovations in the diesel market. If you are interested in learning more about diesel engines, check out my blog and leave your feedback.
View all posts by Jack
 WARNING


 CAUTION
;)
;)
;)
;)
;)
;)
;)
;)
;)
;)
;)
;)
;)
;)
;)
;)
;)
;)
;)
;)
;)
;)
;)
;)
;)
;)
;)
;)
;)
;)
;)
;)
;)
;)
;)
;)
;)
;)
;)
;)
;)
;)
;)
;)