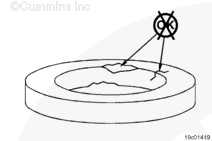
Clean the exhaust gas recirculation (EGR) differential pressure sensor and adapter mounting surfaces. Remove any dirt build-up or soot residue.
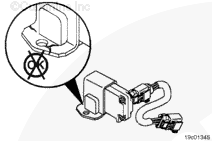
Inspect the EGR differential sensor bracket for cracks or fretting. If damage is present, the sensor must be replaced. The bracket itself is not a serviceable component.
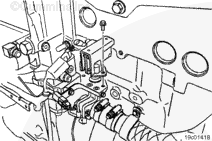
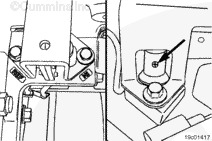
Make sure the sensor is installed correctly. Verify the plus symbol on the side of the EGR differential pressure sensor is on the same side as the word HI cast into the adapter. Likewise, verify the negative symbol, on the opposite side of the sensor, is on the same side as the word REF cast into the adapter.
Start the engine and verify proper operation (no fault codes).
NOTE: An active EGR differential pressure sensor fault code requires a certain procedure, once the repair is complete, to get the fault code to go inactive. The engine must be started and the engine coolant temperature must be above 68°C [154°F] and the intake manifold air temperature must be above 7°C [45°F]. Shut the keyswitch off for 30 seconds and turn the keyswitch back on. The fault code will then transition to inactive.
Hello, I'm Jack, a diesel engine fan and a blogger. I write about how to fix and improve diesel engines, from cars to trucks to generators. I also review the newest models and innovations in the diesel market. If you are interested in learning more about diesel engines, check out my blog and leave your feedback.
View all posts by Jack


;)
;)
;)
;)
;)
;)
;)
;)
;)
;)