Remove
TOC
Automotive Applications
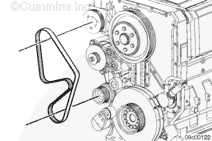
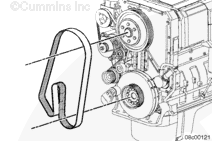
Remove the fan and water pump drive belt. Refer to Procedure 008-003 .
Remove the alternator drive belt. Refer to Procedure 013-005 .
Remove the fan and water pump drive belt tensioner. Refer to Procedure 008-080 .
CAUTION
Do not use a hammer or a screwdriver to remove the damper. These tools can damage the damper.
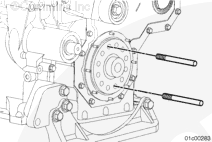
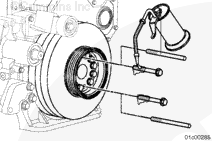
Remove two of the vibration damper and crankshaft pulley retaining capscrews.
Install two guide studs into the holes.
Remove the remaining 10 capscrews. Remove the pulley and damper.
Industrial and Power Generation
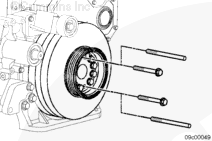
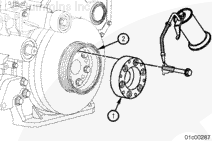
Remove two pulley capscrews.
Install two guide studs into the holes.
CAUTION
Do not use a hammer or a screwdriver to remove the damper. These tools can damage the damper.
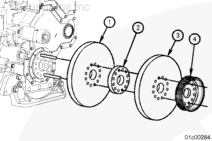
Remove the remaining 10 capscrews. Remove the pulley (4), damper (3), mounting spacer (2), and second damper (1).
Install
TOC
Automotive Applications
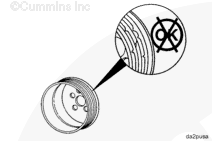
Make sure the mounting surfaces of the crankshaft nose, the vibration damper, and the pulley are clean, dry, and free of burrs.
Install two guide studs into the crankshaft nose.
NOTE : Align dowel pin in crankshaft with dowel hole in damper.
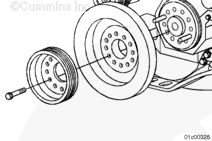
Install the vibration damper(s) and pulley on the guide studs.
Use clean 15W-40 oil to lubricate the capscrew threads.
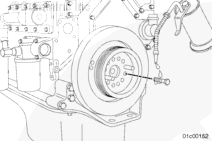
Install the 10 capscrews.
Remove the two guide studs and install the remaining capscrews.
Tighten the capscrews in a star pattern.
Torque Value: 175 n.m [130 ft-lb]
Install the fan and water pump belt tensioner. Refer to Procedure 008-080 .
NOTE : Align dowel of tensioner to bracket.
Install the fan and water pump drive belt. Refer to Procedure 008-003 .
Install alternator drive belt. Refer to Procedure 013-005 .
Industrial and Power Generation
Make sure the mounting surfaces of the crankshaft nose, the dampers, mounting spacer, and pulley are clean, dry, and free of burrs.
Install two guide studs into the crankshaft nose.
Use clean 15W-40 oil to lubricate the capscrew threads.
Install ten capscrews.
Remove the two guide studs and install the remaining two capscrews.
Tighten the twelve capscrews in a star pattern.
Torque Value: 175 n.m [130 ft-lb]
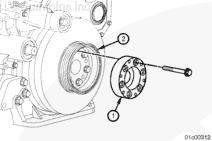
If equipped with a crank-driven fan, install the crankshaft adapter
Use clean 15W40 oil to lubricate the capscrew threads.
Install the six capscrews and tighten in a star pattern.
Torque Value: 175 n.m [130 ft-lb]
Install the fan and water pump drive belt. Refer to Procedure 008-003 .
Install the fan. Refer to the OEM service manual.
Last Modified: 26-Jun-2002
Published by Jack
Hello, I'm Jack, a diesel engine fan and a blogger. I write about how to fix and improve diesel engines, from cars to trucks to generators. I also review the newest models and innovations in the diesel market. If you are interested in learning more about diesel engines, check out my blog and leave your feedback.
View all posts by Jack


 CAUTION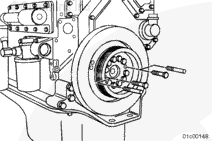








;)
;)
;)
;)
;)
;)
;)
;)
;)
;)
;)
;)
;)
;)
;)
;)
;)
;)
;)
;)
;)
;)
;)
;)
;)
;)
;)
;)
;)
;)
;)
;)